Xen4.2利用virt-install建设虚拟机并安装centos6.5系统
创建虚拟机 CentosVM02
创建一个了50G的镜像文件
dd if=/dev/zero of=/data1/xen/CentosVM02.img bs=1M count=51200
<img class="aligncenter size-full wp-image-1508" title="1" src="http://www.oicto.com/wp-content/uploads/2014/08/1.jpg" alt="" width="722" height="73" />
创建虚拟机
virt-install -n CentosVM02 -r 2048 -p --vcpus=2 -f /data1/xen/CentosVM02.img -l http://mirrors.163.com/centos/6.5/os/x86_64/
virt-install 参数解析
-n CentosVM02 # 虚拟机的名称,这里我们的名称是 CentosVM02
-r 2048 # 虚拟机的最大内存,单位 MB 。这里我们的内存是 2G
--vcpus=2 # 虚拟机的 CPU 数量,这里我们的数量是 2 个
-f /data1/xen/CentosVM02.img # 虚拟机虚拟硬盘的名称,我们这里用 /data1/xen/CentosVM02.img
-l http://mirrors.163.com/centos/6.5/os/x86_64/ # 系统的镜像路径。 Xen 只支持 FTP/HTTP/NFS
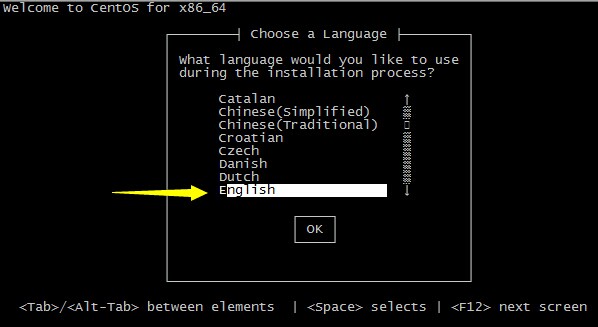
选择语言 这里选择English
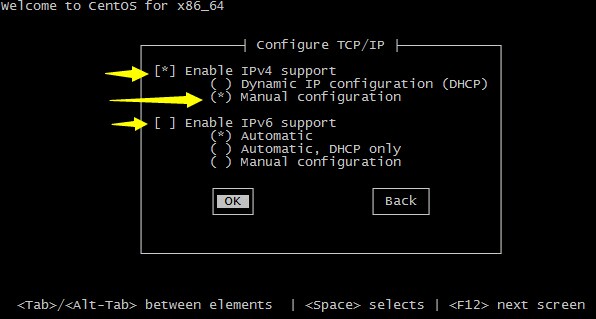
网络配置
选择IPv4,选择Manual configuration。 取消IPv6,点击ok。
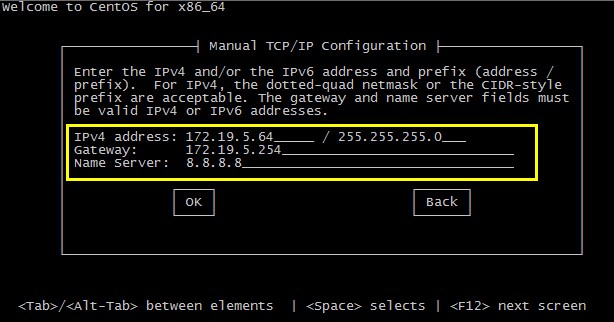
在这个页面填写ip地址,子网掩码,网关,dns。
<img class="aligncenter size-full wp-image-1511" title="4" src="http://www.oicto.com/wp-content/uploads/2014/08/4.jpg" alt="" width="614" height="322" />
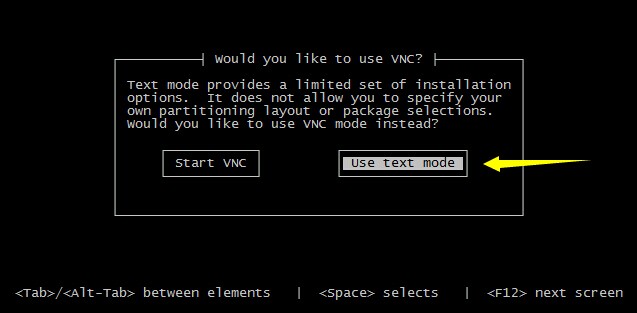
询问是否使用图形界面,我们这里选择继续使用文字界面。
<img class="aligncenter size-full wp-image-1512" title="5" src="http://www.oicto.com/wp-content/uploads/2014/08/5.jpg" alt="" width="637" height="313" />
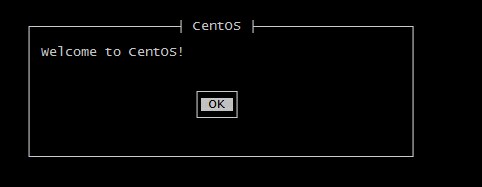
这是个欢迎界面
<img class="aligncenter size-full wp-image-1513" title="6" src="http://www.oicto.com/wp-content/uploads/2014/08/61.jpg" alt="" width="482" height="187" />
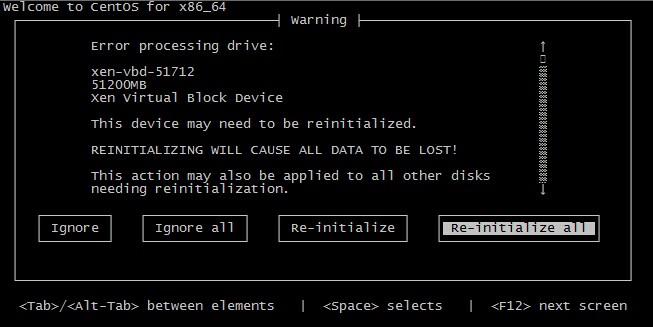
这是一个警告,选择Re-initialize all。
<img class="aligncenter size-full wp-image-1514" title="7" src="http://www.oicto.com/wp-content/uploads/2014/08/71.jpg" alt="" width="653" height="327" />
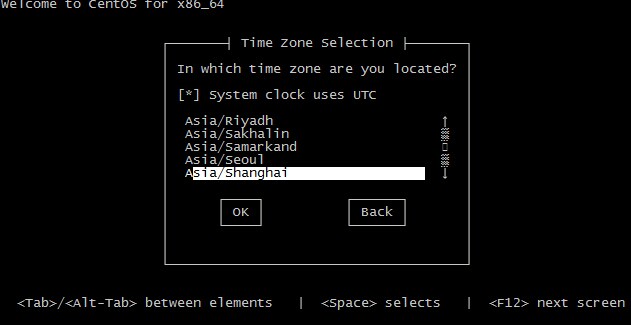
这一步选择时区,我们选择上海。
<img class="aligncenter size-full wp-image-1515" title="8" src="http://www.oicto.com/wp-content/uploads/2014/08/8.jpg" alt="" width="631" height="325" />
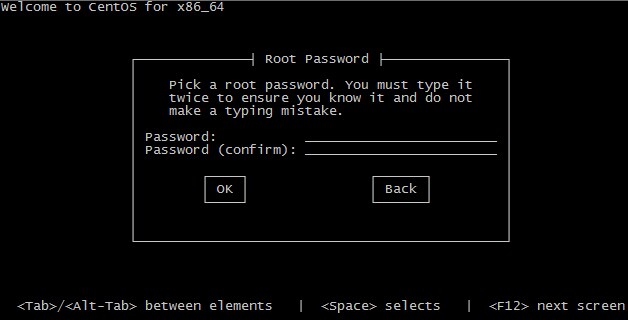
要求输入密码,即登录虚拟机centos系统的root密码。如果是服务器则密码要用字母数字字符组合的复杂密码。
<img class="aligncenter size-full wp-image-1516" title="9" src="http://www.oicto.com/wp-content/uploads/2014/08/9.jpg" alt="" width="628" height="320" />
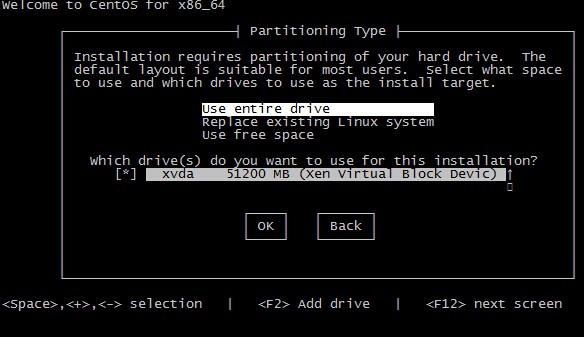
选择Use entire drive,点击ok。
<img class="aligncenter size-full wp-image-1518" title="11" src="http://www.oicto.com/wp-content/uploads/2014/08/11.jpg" alt="" width="584" height="337" />
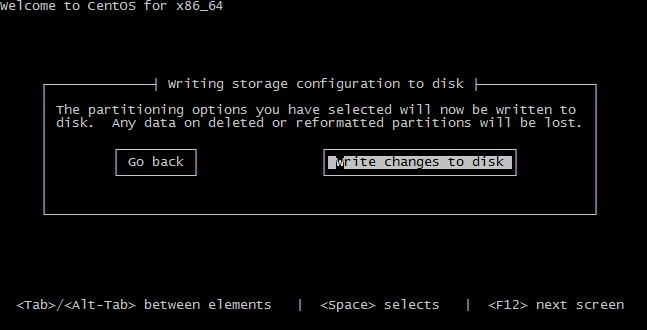
提示目标硬盘数据要被覆盖,选择write changes to disk。
<img class="aligncenter size-full wp-image-1519" title="12" src="http://www.oicto.com/wp-content/uploads/2014/08/12.jpg" alt="" width="647" height="330" />
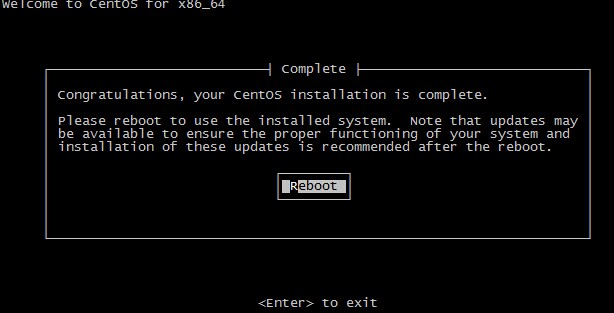
到此步,则安装成功,reboot后,将进入虚拟机centos系统。
<img class="aligncenter size-full wp-image-1520" title="13" src="http://www.oicto.com/wp-content/uploads/2014/08/13.jpg" alt="" width="614" height="313" />
完毕!
查看完整版本: Xen4.2利用virt-install建设虚拟机并安装centos6.5系统
Tags: